

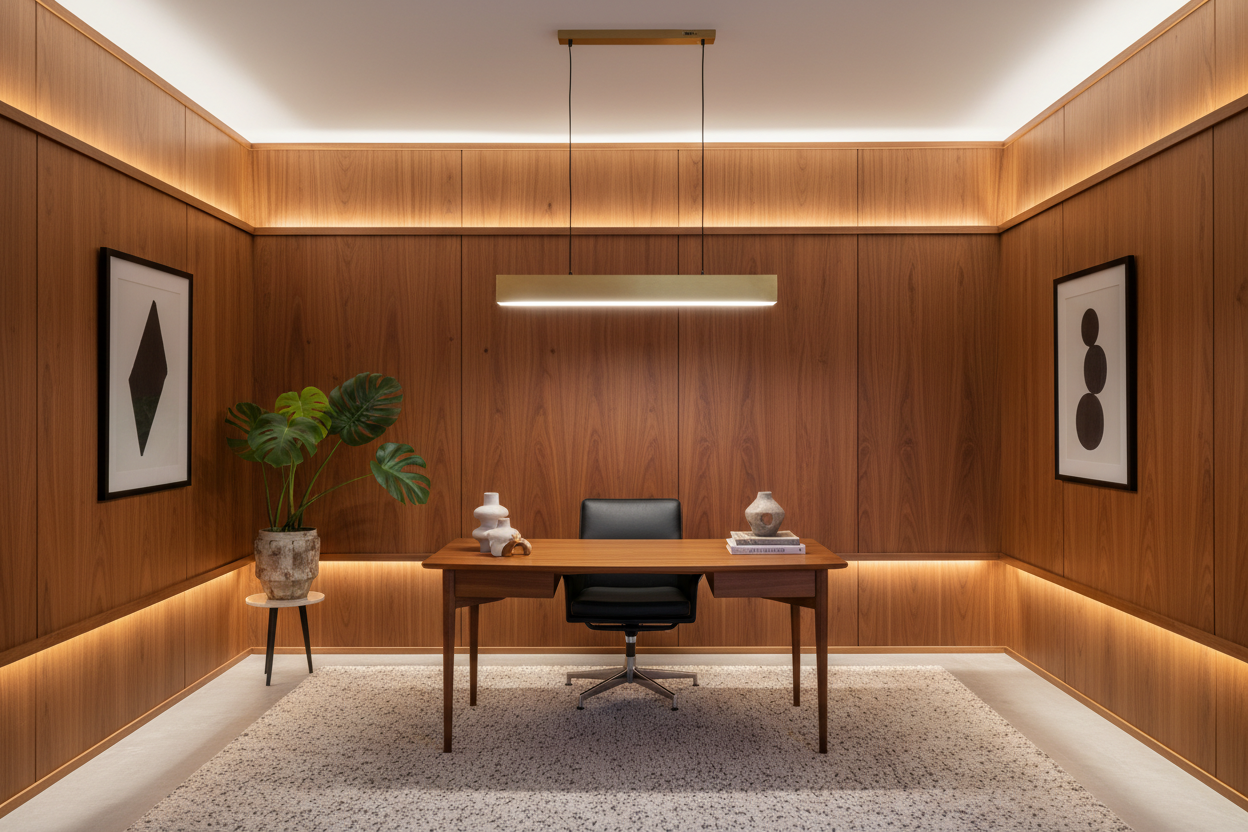
Mid Century Modern is a very popular architectural and design style appearing in many homes across the Denver Metro area. Heavy wood paneling is a feature that can make a room like an office or basement rec room really stand out.
If MCM isn’t your style or you have too much wood in your home, you may be looking for alternatives. While it might feel overwhelming to tackle, that old paneling doesn't require a costly demolition. In fact, with the right approach, it can become a stunning architectural feature.
Explore our list of wood paneling makeover ideas to transform your space into a bright, welcoming sanctuary.
Table of Contents
Tips for Bringing Your 1970s Home into 2026
Create a Drywall Illusion (Groove Filling)
Wallpapering the Interstices
The Power of Paint: A Total Space Transformation
Selecting the Right Shade for Colorado Homes
Step-by-Step: How to Paint Wood Paneling the Right Way
Clean the Walls Thoroughly
Lightly Sand the Surface
Apply a High-Quality Bonding Primer
Fill Grooves (Optional)
Paint Two Topcoats
Completing the Look: Tying the Walls to Your Floors
Get Started with Simply Floors Inc. in Denver CO
Tips for Bringing Your 1970s Home into 2026
Create a Drywall Illusion (Groove Filling)
If you truly want a seamless, modern wall but want to avoid the mess of tearing down the paneling, you can fill the vertical grooves.
By using a lightweight spackle or joint compound to fill the gaps, sanding them flat, and applying a high-adhesion primer, you can paint right over the surface to achieve a perfectly smooth drywall look.
Wallpapering the Interstices
If your paneling features wide, flat wood sections divided by shallow grooves, you can install textured or subtly patterned wallpaper directly inside the flat panels while painting the frames a solid color.
This creates a high-end, custom "framed panel" look common in traditional design styles.
The Power of Paint: A Total Space Transformation
The single most effective way to modernize sheet paneling or solid wood planks is painting wood paneling. A fresh coat of paint preserves the subtle texture and depth of the vertical grooves while instantly making a room feel larger, cleaner, and entirely updated.
Instead of staring at a dark "cave," imagine those same walls coated in a soft, light-reflective neutral.
Selecting the Right Shade for Colorado Homes
Our beautiful Colorado sunlight changes dramatically from morning to afternoon. When planning to paint wood paneling walls, consider how the exposure affects your color choices:
North-Facing Rooms: These spaces get cooler, bluer light. Opt for warm whites, soft creams, or light greys with beige undertones to keep the room feeling cozy.
South-Facing Rooms: Blessed with intense, warm sunlight all day, these rooms can handle crisp, true whites or cooler, sophisticated grays without feeling washed out.
Going Bold: Don't be afraid of depth. Painting a paneled accent wall in a muted olive green, deep navy, or charcoal gray creates a gorgeous, velvety texture that looks incredibly intentional and modern.
Step-by-Step: How to Paint Wood Paneling the Right Way
The secret to a flawless finish that won't chip or peel down the road comes down to prep work. Because older paneling often has a slick, manufactured topcoat or a glossy polyurethane finish, skipping steps will lead to a frustrating mess.
1. Clean the Walls Thoroughly
Years of dust, hands, and household oils accumulate in the grooves. Wipe the paneling down completely with a mild degreaser or a TSP (trisodium phosphate) substitute and let it dry fully.
2. Lightly Sand the Surface
You don't need to strip the wood down to bare fibers, but you do need to "scuff" it. Use a fine-grit sandpaper (around 220-grit) to dull the shine.
This gives the new paint something to grip onto. Wipe away all resulting dust with a damp cloth.
3. Apply a High-Quality Bonding Primer
This is the most critical step. Standard latex primers will slide right off slick wood. Use a premium stain-blocking, oil-based, or high-adhesion synthetic shellac primer.
This prevents the wood tannins from bleeding through and turning your white paint yellow.
4. Fill Grooves (Optional)
If you want a perfectly flat drywall look, you can fill the vertical grooves with spackle or joint compound, let it dry, and sand it smooth before priming again.
However, leaving the grooves visible creates a beautiful beadboard or shiplap effect!
5. Paint Two Topcoats
Apply two coats of high-quality interior paint. Use a brush to cut into the vertical grooves first, then follow up with a roller for the flat surfaces.
An eggshell or satin finish works beautifully, offering a soft sheen that is easy to wipe clean.
Completing the Look: Tying the Walls to Your Floors
When you brighten up your walls, it naturally shifts the focus to what is right beneath your feet. Dark paneling often hides old, worn carpet or outdated flooring.
Once those walls are painted a fresh, clean color, you have the perfect canvas to bring out the beauty of your entire room.
Pairing your newly painted walls with the right flooring material creates a cohesive, balanced design:
Complementing Light Walls: If you painted your paneling a crisp white or soft cream, a warm chestnut or natural oak flooring style adds the perfect amount of organic warmth, preventing the space from feeling clinical.
Balancing Dark Accent Walls: If you went bold with a moody charcoal or deep green paneled wall, balancing it with a lighter, sandy-toned floor keeps the room feeling grounded and spacious.
The Shop-at-Home Advantage: Choosing paint and flooring shouldn't happen under harsh store lights. Because paint colors and flooring samples shift constantly depending on your home's unique lighting and existing furniture, seeing them together in your actual room is the only way to ensure you'll love the final result.
Get Started with Simply Floors Inc. in Denver CO
If you are ready to update your space and want to see how different flooring styles look right next to your newly made-over walls, we are here to help.
We offer a wide variety of flooring along with painting services (interior painting and exterior painting services). Additionally, our interior designers can help you either in store or we can bring the showroom selection directly to your living room across Arvada, Centennial, Aurora, and the greater Denver area.
We Invite You to Call or Visit One of Our 3 Showrooms Today!
Our Service Areas Include: Wheat Ridge, Centennial, Denver, Arvada, Aurora, Golden, and Parker, CO
Arvada, CO
Address: 5945 Ward Rd Arvada, CO 80004
Phone: (303) 731-5380
Centennial, CO
Address: 8101 S Quebec St. #2 Centennial, CO 80112
Phone: (303) 731-5380
Aurora, CO
Address: 17034 E Quincy Ave. Aurora, CO 80015
Phone: (303) 731-5380
About Simply Floors Inc.
At Simply Floors, we believe the best place to choose your new flooring isn’t under the buzzing fluorescent lights of a warehouse, but in the natural light of your own home where your life actually happens. As a woman-owned, family-operated business serving the Colorado Front Range—from Arvada and Wheat Ridge to Centennial and Parker—we’ve traded the high overhead of "mega-showrooms" for a personalized shop-at-home experience that puts you in control.
Our mission is built on a simple promise to enthusiastically exceed your expectations by providing curated, high-quality selections and transparent pricing without the big-box stress. Whether you are replacing well-worn carpet or updating your forever home, our dedicated team handles every detail with "Excellence in the Ordinary," ensuring a seamless, professional journey from the first measurement to the final plank.


